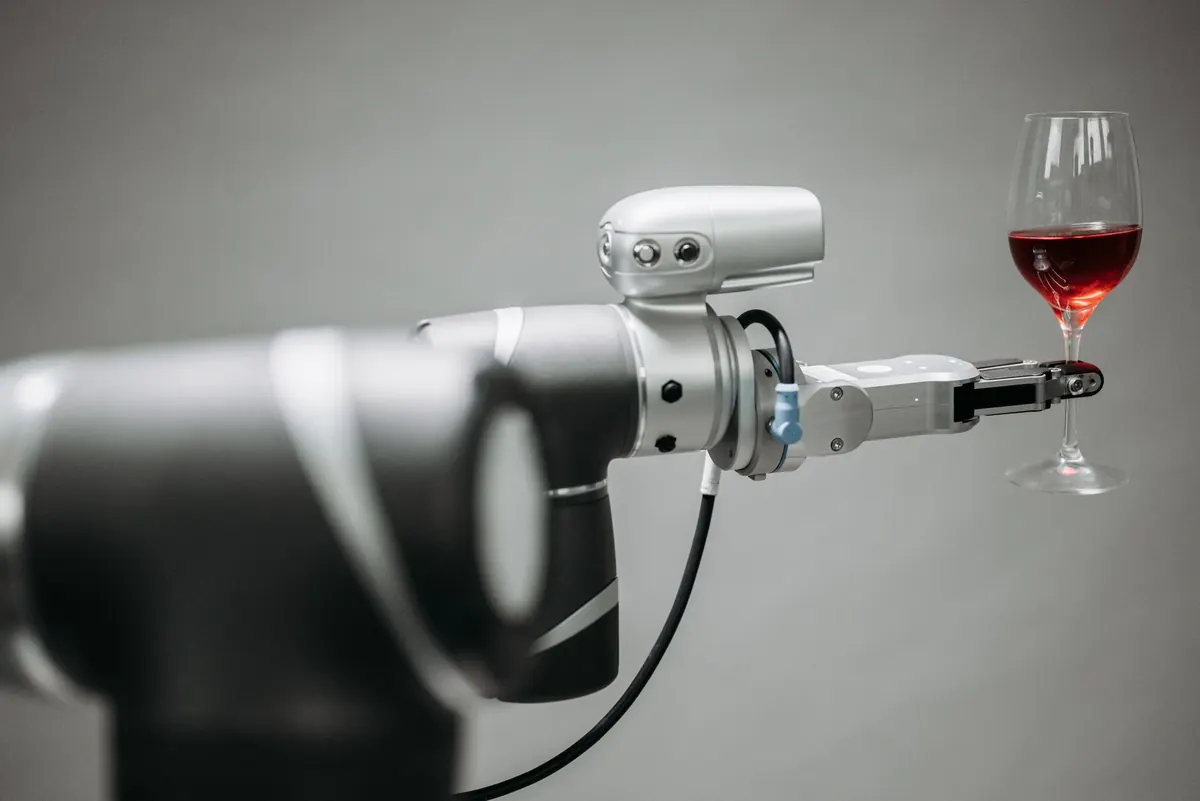
A robot arm is just a chain of rigid links connected by joints, and every joint needs three things: a controller, a state estimate, and a coordinate frame. Getting those three right on real hardware is expensive. Getting them right in simulation costs you an afternoon. That is the trade this tutorial makes. By the end you will have a virtual arm standing in Gazebo, joints responding to a Python script, and motion you can watch in RViz2.
What You Need Before You Start
Start with a native Ubuntu install. ROS 2 releases are tied to Ubuntu releases: Humble Hawksbill pairs with Ubuntu 22.04, Jazzy Jalisco with Ubuntu 24.04. Do not mix them. Install ROS 2 from the official Debian packages, then source the environment in every new terminal:
source /opt/ros/humble/setup.bash
Swap humble for jazzy if that is your release. Beyond the base install, you want these pieces:
- Gazebo, installed through its ROS 2 bridge. On Humble you can still use Gazebo Classic via gazebo_ros_pkgs, but the modern path is Gazebo Sim through ros_gz. Pick one and stay consistent, because the plugin names differ.
- ros2_control and ros2_controllers, which give you the controller manager and the joint trajectory controller.
- robot_state_publisher and xacro for turning your model description into TF frames.
- RViz2 for a clean look at the model, separate from the physics view.
Verify with ros2 pkg list and grep for what you expect. Windows users can run this under WSL2, though Gazebo rendering gets sluggish and GPU passthrough is fiddly. A dual-boot or a cheap Ubuntu machine removes a whole category of confusion.
Build or Borrow a Robot Model
Write your own URDF from scratch only if you enjoy debugging inertia tensors. For a first project, borrow a model. The ros2_control_demos packages ship a two-joint RRBot that already has controllers wired up, and there are descriptions for six-axis arms available from the ros2_control and MoveIt 2 examples. Start there, then swap in your own geometry later.
The parts of a URDF that actually matter
- Links need a visual, a collision, and an inertial block. Gazebo will behave strangely or refuse to simulate a link with zero mass.
- Joints need a type (revolute for most arm joints), an axis, and limits: lower, upper, effort, and velocity. Those limits are enforced, so make them match your real hardware.
- The ros2_control block inside the URDF tells the system which joints exist and which command interfaces they accept, usually position or velocity.
- xacro macros let you parameterise link lengths and joint offsets instead of copy-pasting blocks.
Keep the model in its own description package. Separating the description from the launch files pays off the moment you want to reuse the same arm in RViz, Gazebo, and MoveIt.
Wire the Arm to ros2_control
Gazebo does not know about controllers. The bridge is a plugin declared inside a gazebo tag in your URDF: gz_ros2_control for Gazebo Sim, gazebo_ros2_control for Classic. The plugin reads a YAML file that defines the controller manager, the update rate, and the controllers themselves.
Two controllers carry almost all the weight. The joint_state_broadcaster reads joint positions from the simulation and publishes them on /joint_states. The joint_trajectory_controller takes a desired trajectory and computes the commands. In the YAML you list the joints the trajectory controller owns, in the order you intend to command them, along with per-joint goal tolerances. Get the order wrong and the arm will move in ways that look almost right, which is worse than failing outright.
Launch It and Check the Topics
A typical bring-up launch file does four things: start Gazebo, run robot_state_publisher with the processed URDF, spawn the model into the world, and load the controllers. With Gazebo Sim, spawning means running the create tool from ros_gz_sim against the /robot_description topic. With Classic, you use spawn_entity.py.
Once it is up, resist the urge to start coding. Verify first:
ros2 control list_controllers
ros2 topic hz /joint_states
ros2 topic list
You want to see the broadcaster and the arm controller both active, and /joint_states publishing steadily, typically around 50 Hz. If the arm is limp in Gazebo, the controller is not active. If nothing is publishing, the plugin did not load.
Move the Joints from Python
With the simulation healthy, a small rclpy node is enough to drive the arm. The message you care about is JointTrajectory, and the workflow is short:
- Create a node and a publisher on /arm_controller/joint_trajectory, or an action client for the FollowJointTrajectory action if you want feedback and goal acceptance.
- Set the joint_names list in exactly the order the controller expects.
- Build one or more JointTrajectoryPoint entries with positions in radians and a time_from_start duration for each.
- Publish, then spin the node so callbacks and logs actually run.
The trajectory topic is fine for quick tests. Once you care whether a motion succeeded, switch to the action interface. It tells you whether the goal was accepted, whether it finished, and how far off the final position was.
A useful first script sweeps one joint through a slow sine wave while holding the others at zero. It makes the direction and sign of every axis obvious, and it flushes out unit mistakes. Positions are radians, not degrees, and the controller will refuse goals outside the limits you declared in the URDF. Send velocities and accelerations along with positions if your controller configuration requires them.
See the Motion in RViz2
Gazebo shows you physics; RViz2 shows you frames. Add a RobotModel display, set the fixed frame to your arm's base link, and the model will follow /joint_states as the trajectory executes. Add the TF display to see the link frames move with it. If you get a warning about no transform, your fixed frame is probably wrong or robot_state_publisher is not running.
When the arm refuses to move
- Controller inactive. Load and configure it explicitly, or check the launch order. Controllers loaded before the model is spawned will fail quietly.
- Joint name mismatch. Trailing whitespace and singular versus plural names are the usual culprits. Read the controller manager log.
- Bad inertials. Zero mass or a degenerate inertia tensor makes Gazebo unstable or frozen.
- Wrong topic. Confirm the controller's namespace with ros2 topic list rather than assuming.
- Meshes not found. Missing mesh paths show up as a bare skeleton or an error on startup.
Where to Take This Next
Once joints respond to commands, the natural next step is planning instead of scripting. MoveIt 2 sits on top of the same controller interface and gives you inverse kinematics, collision checking, and motion planning; the pymoveit2 wrapper lets you call it from Python in a few lines. Add a gripper link with a prismatic joint and you have the ingredients for a pick-and-place demo.
The part worth appreciating is that the hardware interface is swappable. The same controllers that accept simulated joint commands can drive real motors through a hardware interface plugin. What does not transfer automatically is the physics: real joints have friction, backlash, and flex that your simulated arm does not. Treat the simulation as a place to get your frames, limits, and logic correct, and expect to tune gains again on real hardware. Model the friction you know about, keep the gravity vector honest, and the gap will be smaller.
Photo: Pavel Danilyuk / Pexels